
With a quiet but definite thump, the keel touches bottom. My husband peers at me over the spiderweb of ropes keeping the boat upright and gives a cautious thumbs-up. It is our first time careening on a tidal grid, and we are safely aground.
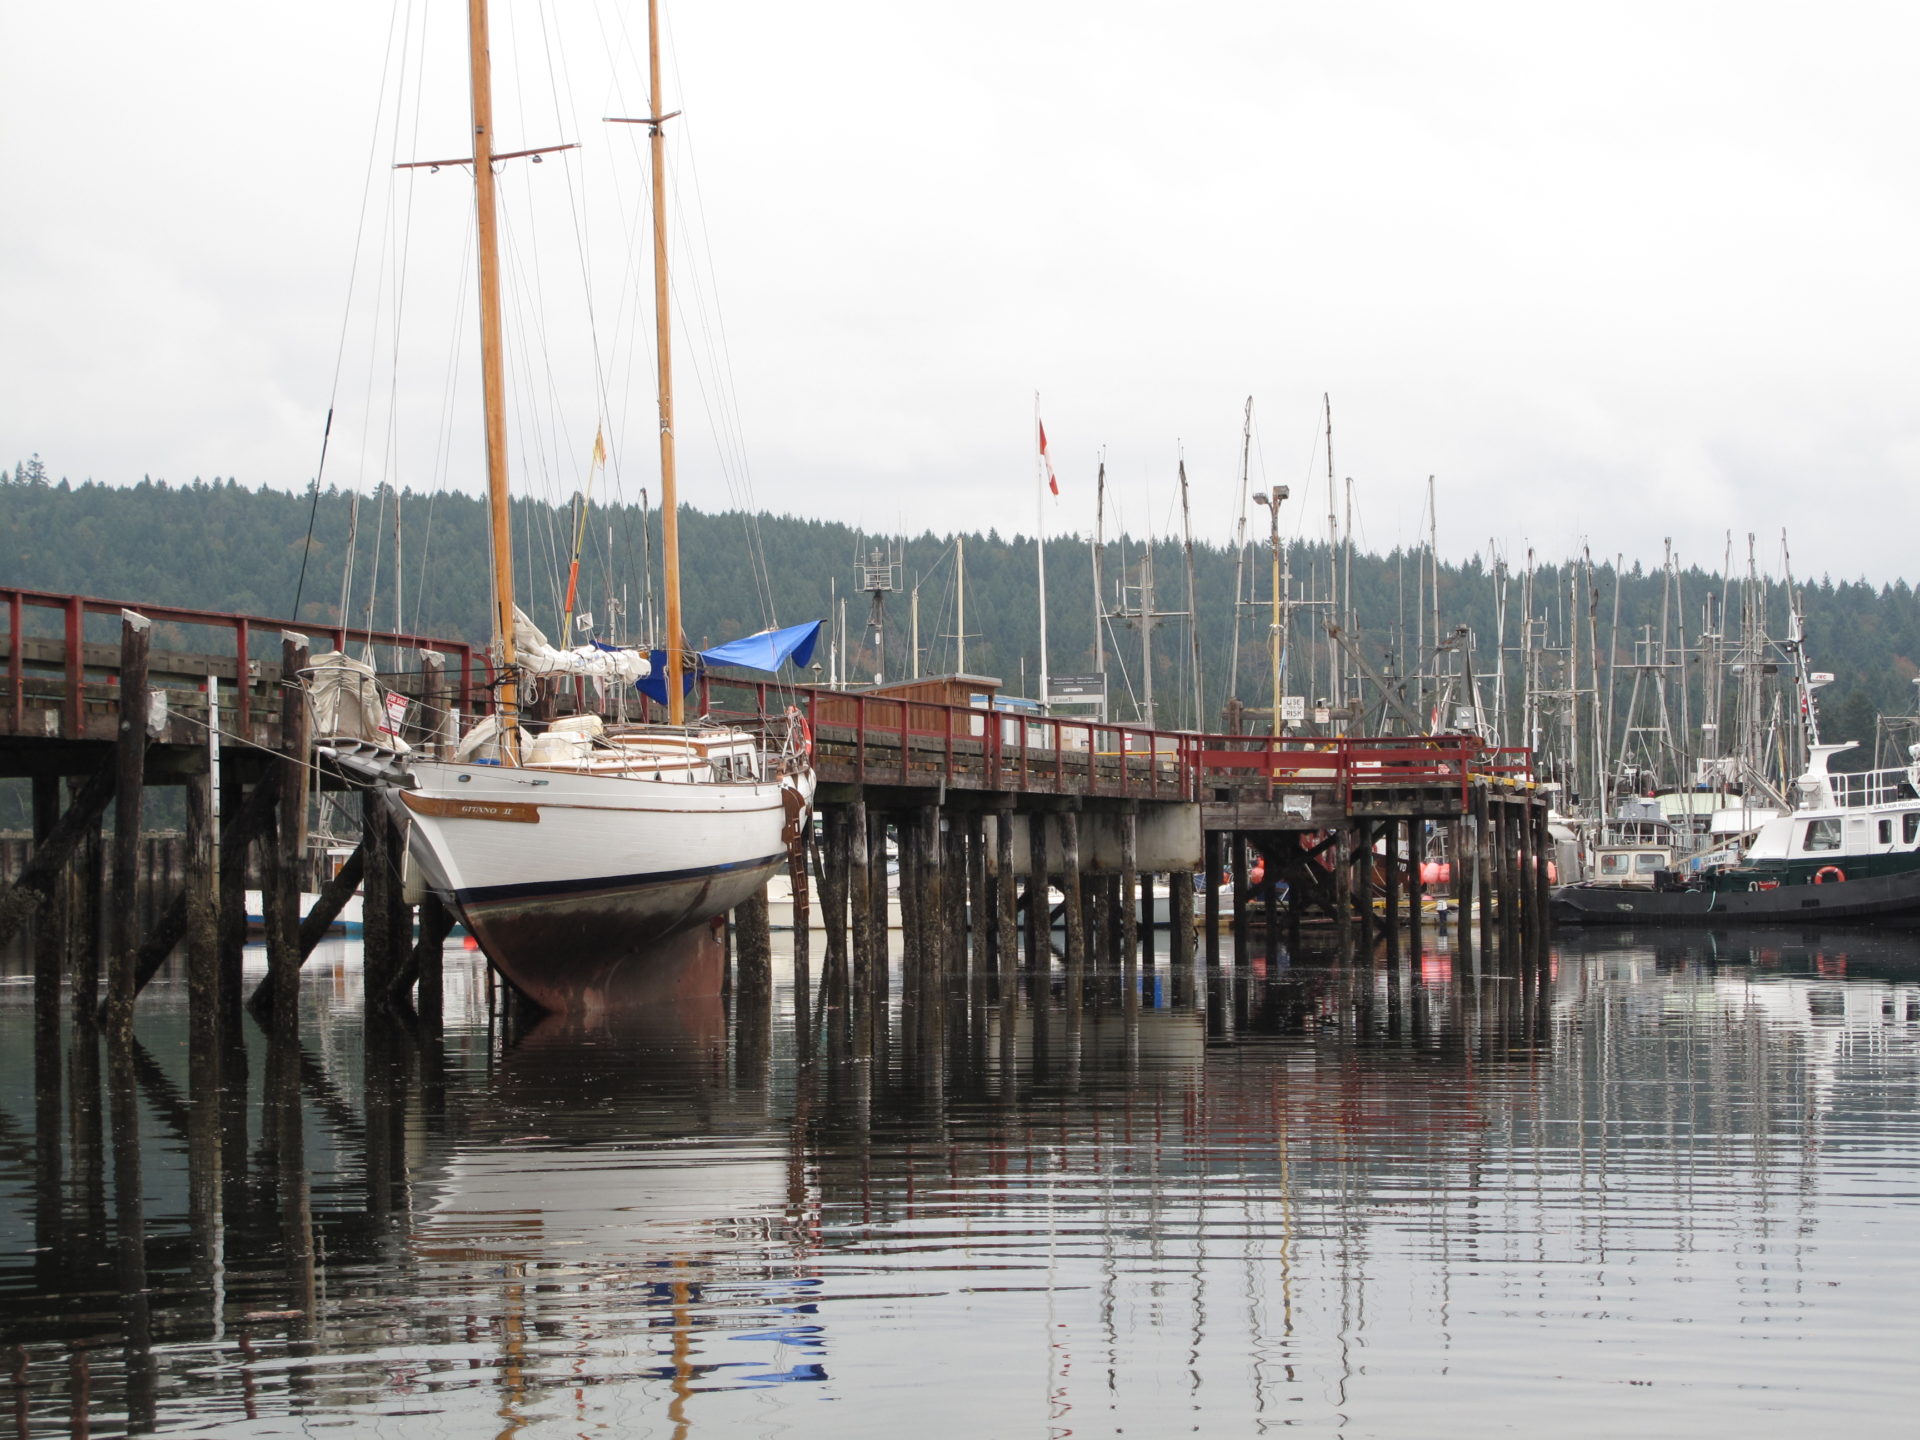
In the days before travelifts, mariners routinely used tidal grids for maintenance. They are simple: heavy planks set in the beach next to a reinforced dock, underwater at high tide and exposed at low tide. Boats can be tied to the pilings and when the tide goes out, the keel rests on the planks, leaving the boat aground but upright. Modern marine regulations do not permit pressure-washing or scraping of hulls painted with ablative paints, but there are many minor jobs you can do.
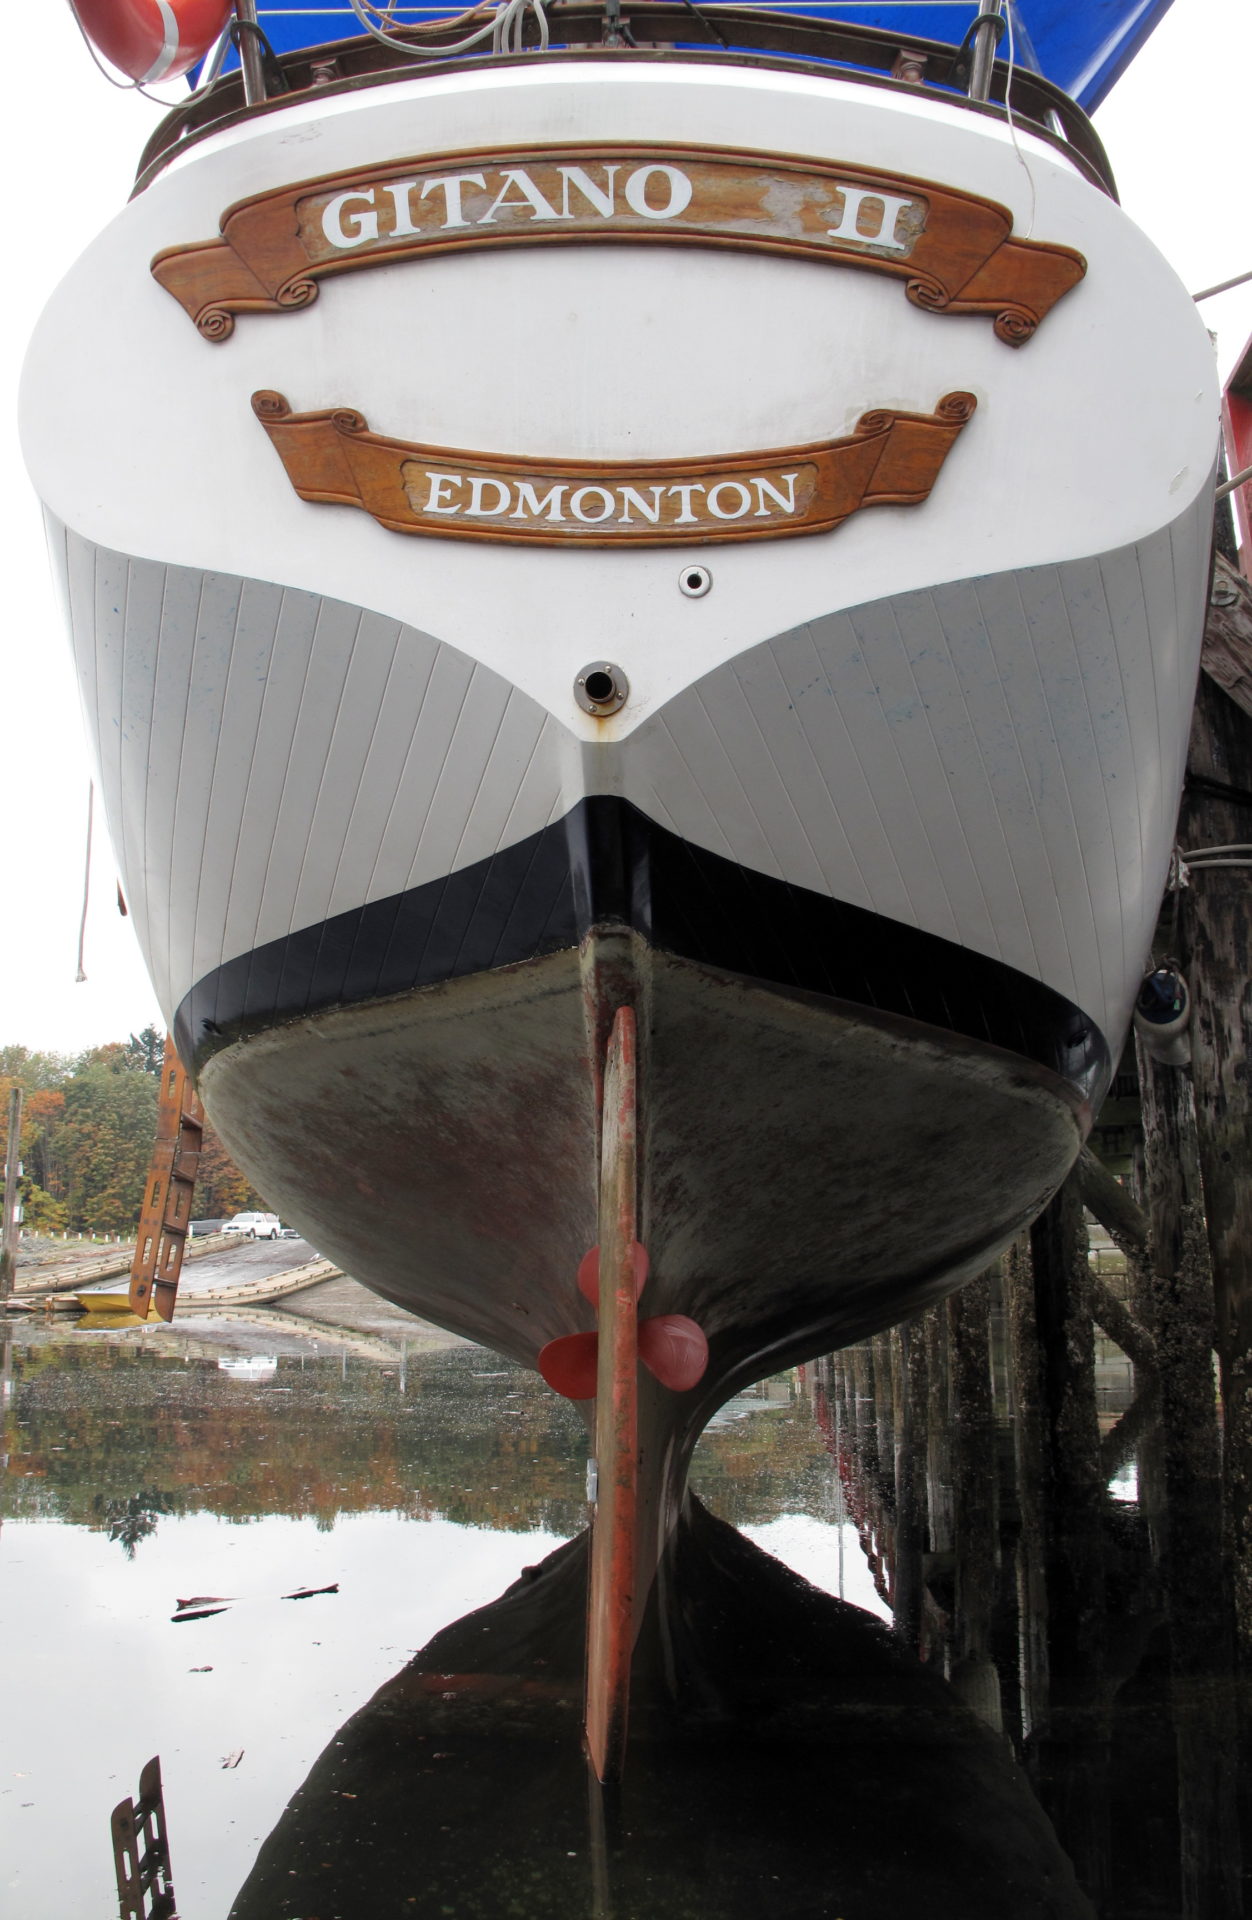
My husband and I needed to do some below-waterline work on our CT41 ketch, Gitano II. We heard we could use a tidal grid for a fraction of the price of a haul-out. Although the thought of balancing our 15-ton boat on its four-inch wide keel made us nervous, we wanted to give it a try. It turned out to be completely straightforward. Instead of using a crane to lift our boat out of the ocean, we rested on the tidal grid and waited for the moon to move the water out of the way.
 Tidal grids are an alternative way to do minor repairs on your boat.
Planning Before you book a spot, you need to decide whether this will work for your boat. Our sailboat has a full keel, which is ideal. Sailboats with fin keels and skeg-hung rudders can also be careened, with sturdy adjustable supports under the stern, one on each side, and extra bow lines to hold up the bow. Powerboats, especially those with full keels, skegs, or tunnels, can also be careened on a grid.
Next, call the local facility you plan to use. Find out the maximum boat size they can handle, the plank spacing, and whether they have any special regulations. At Ladysmith, they have two grids, a large and a small, which can handle boats up to 50 and 35 feet, respectively. For us, plank spacing was not an issue, but it is advisable to make certain the keel will span at least two planks.
Check the tide tables. You need a tidal range that allows you to get on and off the grid with water to spare. The Ladysmith grids are bare at a five-foot tide, and our boat draws six feet, so we needed at least an 11-foot tide. We chose a tide just over 11 feet, and we barely managed to get on and off the grid. Next time, we will plan for more leeway, especially since weather and wind can affect local tidal heights, and an inch can make all the difference.
Consider how many tidal cycles you will need for your work, and plan to get on the grid during a high tide and off at an even higher tide. This way, you can be sure that you will be able to leave.
Finally, consider the time of day of your working low tide. We (read: my dear husband) completed our work at 4:00, because we needed to get the job done and be back at work on Monday. You may want to choose differently, but that may mean planning weeks or months in advance, depending on how great a tidal range you need.
Preparation Because the work window will be short, and you can’t negotiate with the tide for more time, you need to have everything ready. We didn’t know what diameter kevlar stuffing we needed for our prop shaft, so I bought all the sizes the marine store stocked, and kept the receipt. We didn’t want water gushing through the shaft log in the wee hours of the morning.
It’s also a good idea to visit the grid ahead of time and watch the tides. We sailed up to Ladysmith a day early and stayed at the Fisherman’s Wharf dock. We noted how high the high tide came up the pilings, and where the planks lay in relation to the dock, so we would know where to position the boat when the planks were covered by six feet of water.
Running aground To prepare your boat, clear the decks, balance your gear below decks, and ready your lines and fenders. Fenders need to be put out horizontally so they can roll up and down between your boat and the dock. To make sure your boat doesn’t tip over, you need to make it heel slightly (two or three degrees) toward the dock. Just wedge an extra fender between the widest point on your gunwales and the dock, then pull it out right after your keel has settled onto the grid. Or you can weight the side of your boat nearest the dock, and shift your boom over as you settle.
With the rising tide, we untied and motored over to the grid. When we pulled up to the dock, we thought the tide might not be high enough to let us on. I actually had to stand in the bow with our son to lift our keel a smidge. It worked, and we squeaked on. If you float easily onto the grid, be prepared for the swell to cause a fair amount of thumping when the keel starts to settle.
Once on the grid, you need to tie up to make sure you stay upright. Lead spring lines and several breast lines from a variety of strong points like cleats, fairleads, masts, and winches. As the boat settles onto the planks, tend the lines every 10–15 minutes to make sure the weight of the boat rests on its keel, not the lines. Pay particular attention to the bow lines, and keep them taut to prevent the nose from dropping too much. As nervous newbies, we put out about a dozen lines, but it was clearly overkill.
And that was that. All that was left was to chat with all the curious onlookers as we waited for the moon to do her work, so we could do ours.
Careened The boat felt very odd aground. The bow tipped downward a bit, (making our berth uncomfortable until we swapped the pillows to the uphill end), the decks didn’t move at all, the seawater-flushed head didn’t work and the stove tilted in a direction the gimbals couldn’t correct. All fairly minor points.
One other thing was different—as the tide went out, the dinghy disappeared from beside our boat. We didn’t think about it until the tide had already dropped a few feet, but luckily our ship’s ladder is long, and it was easy to retrieve it. If you plan to row around your keel, you might want to tie your dinghy up on a nearby dock, or take it over to the beach. If it’s not up on davits, remember that you need to tend to your tender.
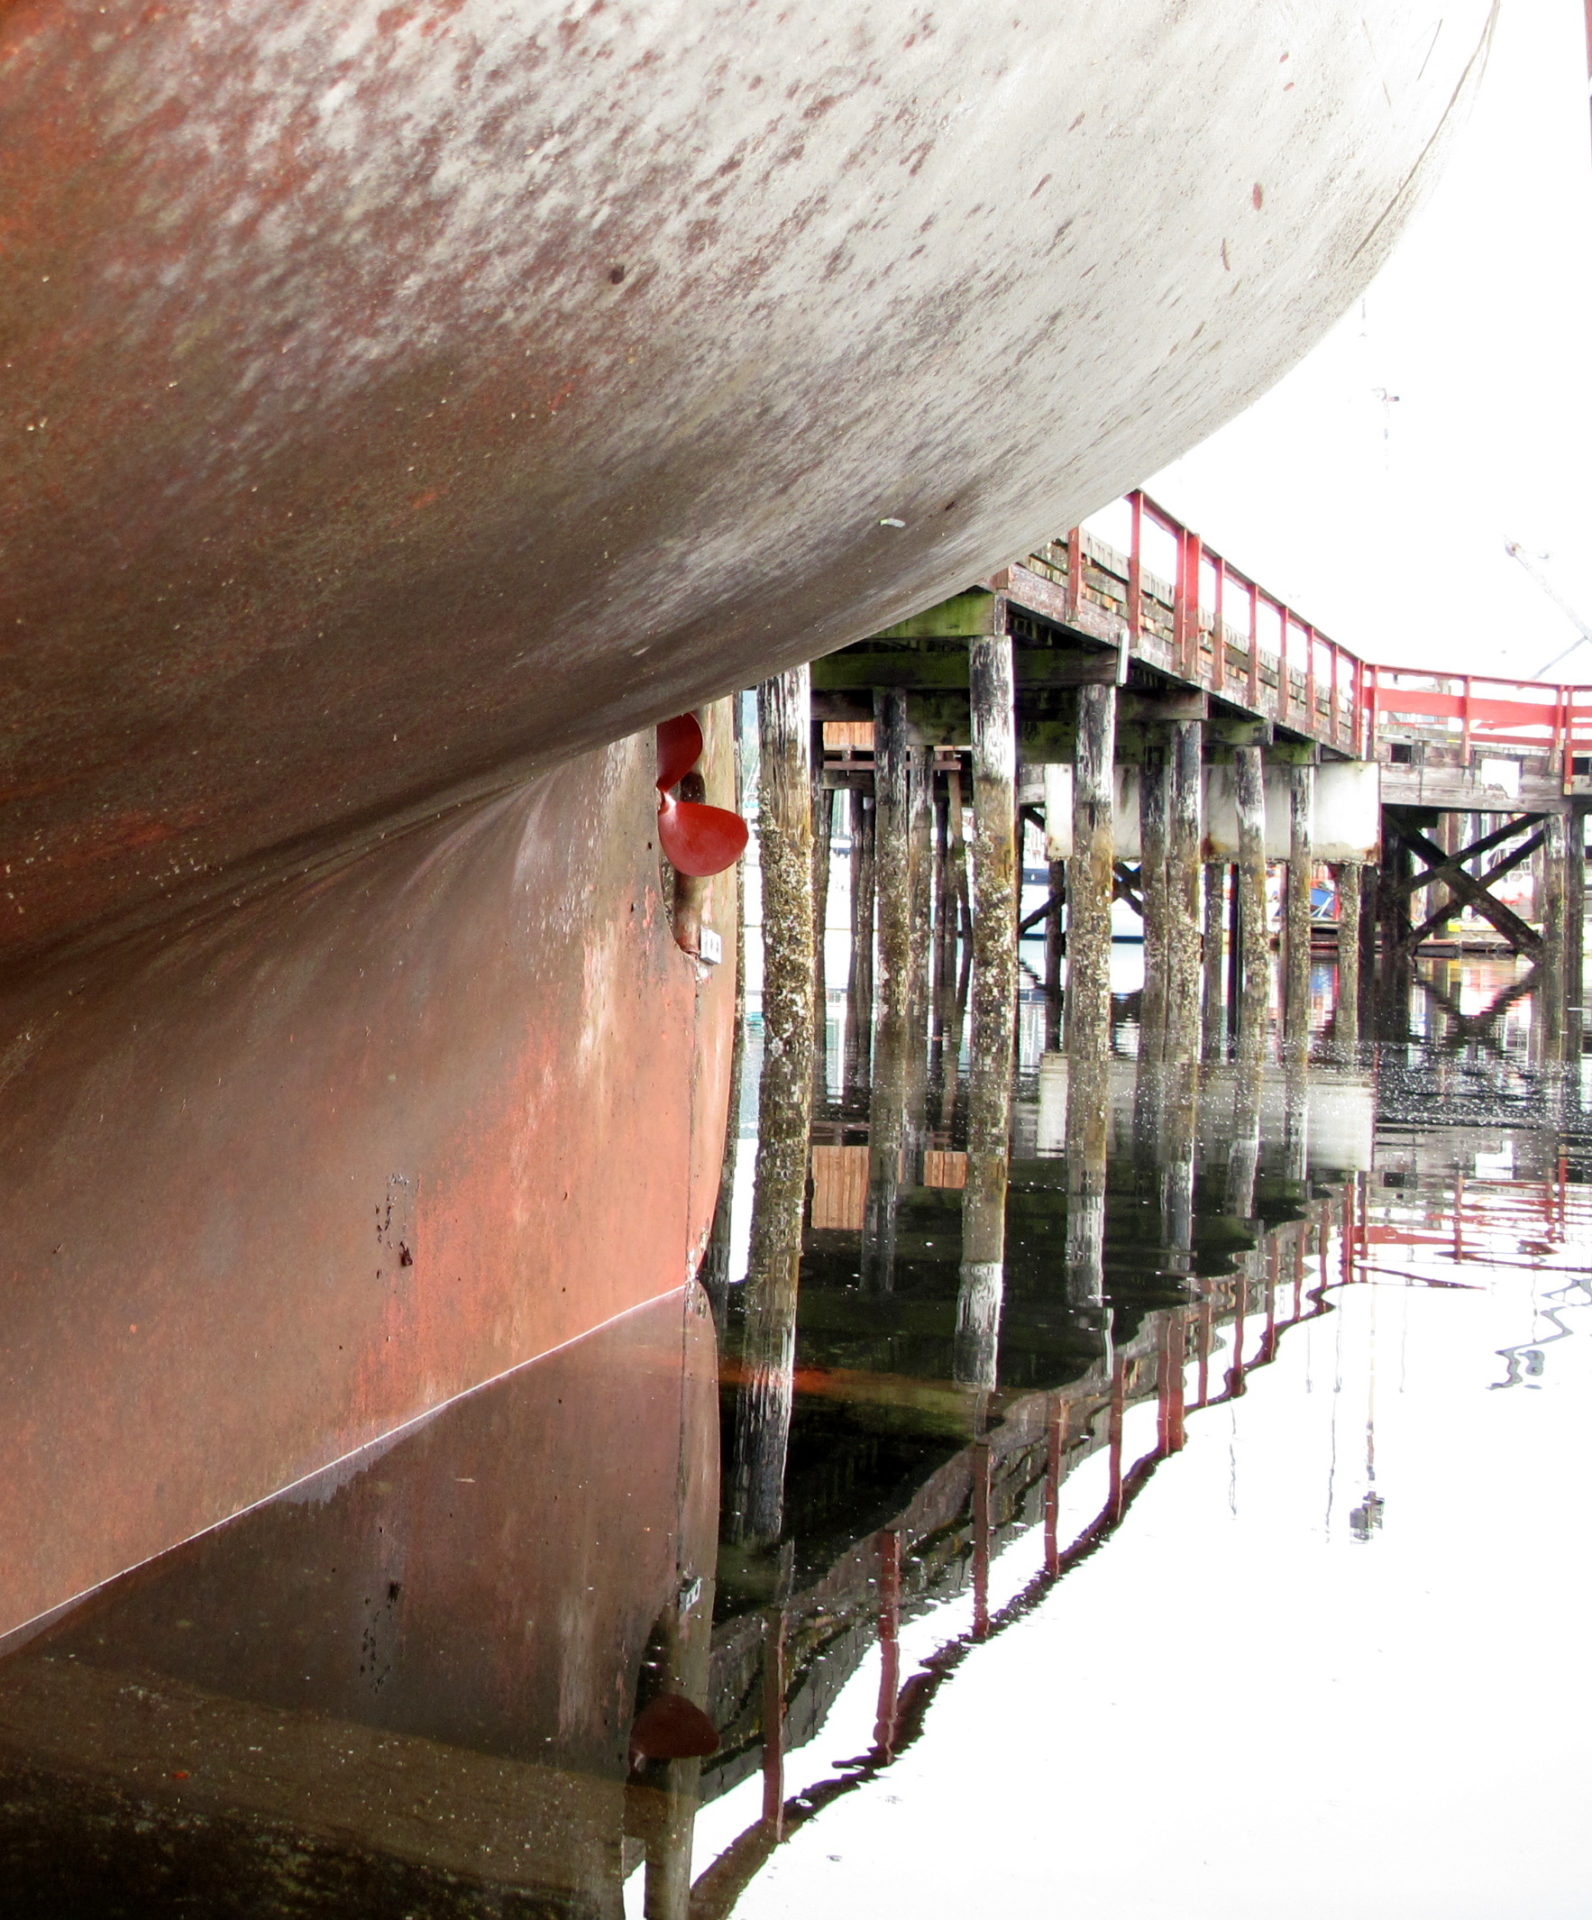
After all the planning and waiting, it was time to work. Although you must be meticulously careful not to pollute the grid area with bottom paint or other toxic substances, a number of important jobs can be done on a grid. You can have a survey done, repack the stuffing box, tune prop pitch, replace anodes, inspect the hull, and do rudder, thru-hull, and speed log maintenance.
Our work went smoothly. My husband started working on the stuffing box as soon as the tide laid it bare, long before low tide. Removing the packing material wasn’t easy, even though my machinist dad had made us a special tool. In the end he got it out, and the repair was a success. We also changed the zincs, serviced the thru-hulls and inspected our hull. Taking the dinghy around the boat’s keel was my favourite part of the experience—the perspective from down there was great.
Afloat Again Leaving the grid is either the easy part, or the thing that went terribly wrong. Be prepared for the tide. Tend your lines again, and rescue your dinghy. When you feel your keel lift (it will likely thump against the grid some more) be ready to untie, and push off. There’s nothing more to it than that—setting your boat free in its element. We had chosen the highest tide for leaving, and floated off easily.
We motored away while preparing to put up sails for the trip home. Our first time careening had gone off without a hitch, and we felt self-sufficient and handy, like we had baked our own bread, or caught our own dinner. And it was relaxing, perhaps because the moon did so much of the work for us.