
You may have heard the expression, “you can’t make a silk purse out of a sow’s ear,” but I maintain that with some objects you can turn a pretty mediocre item into something a lot better, physically and aesthetically.
Take oars, for example. Many of the oars you purchase at the hardware store or buy secondhand are what my old friend and mentor, Bob Lally, would deride as “clubs.” When I first met him, and before I knew better, the old shipwright would shake his head sorrowfully and gaze at me with that look in his bright blue eyes that I came to dread. “Marty,” he would remonstrate when I clambered into my skiff, the Stormy Petrel, with a pair of store-bought oars under my arm. “You can’t be usin’ those. They’re nothin’ but clubs!”
I refrained from telling Bob that in my youth I had first set to sea on the monsoon-flooded tennis court of our house in New Delhi, afloat in a galvanized bathtub and propelled by two cricket bats. He might agree that I had improved somewhat from the follies of childhood but obviously not enough!
So, I take this opportunity to impart some straightforward procedures in case you have an old pair of oars in the barn or have purchased a couple of “clubs” at the local outlet. A few simple steps will turn those sow’s ears into something better than a silk purse: a pair of well-functioning (and good-looking) oars. And, with some travel still curtailed, you can turn your COVID-induced restrictions to advantage.
Step One
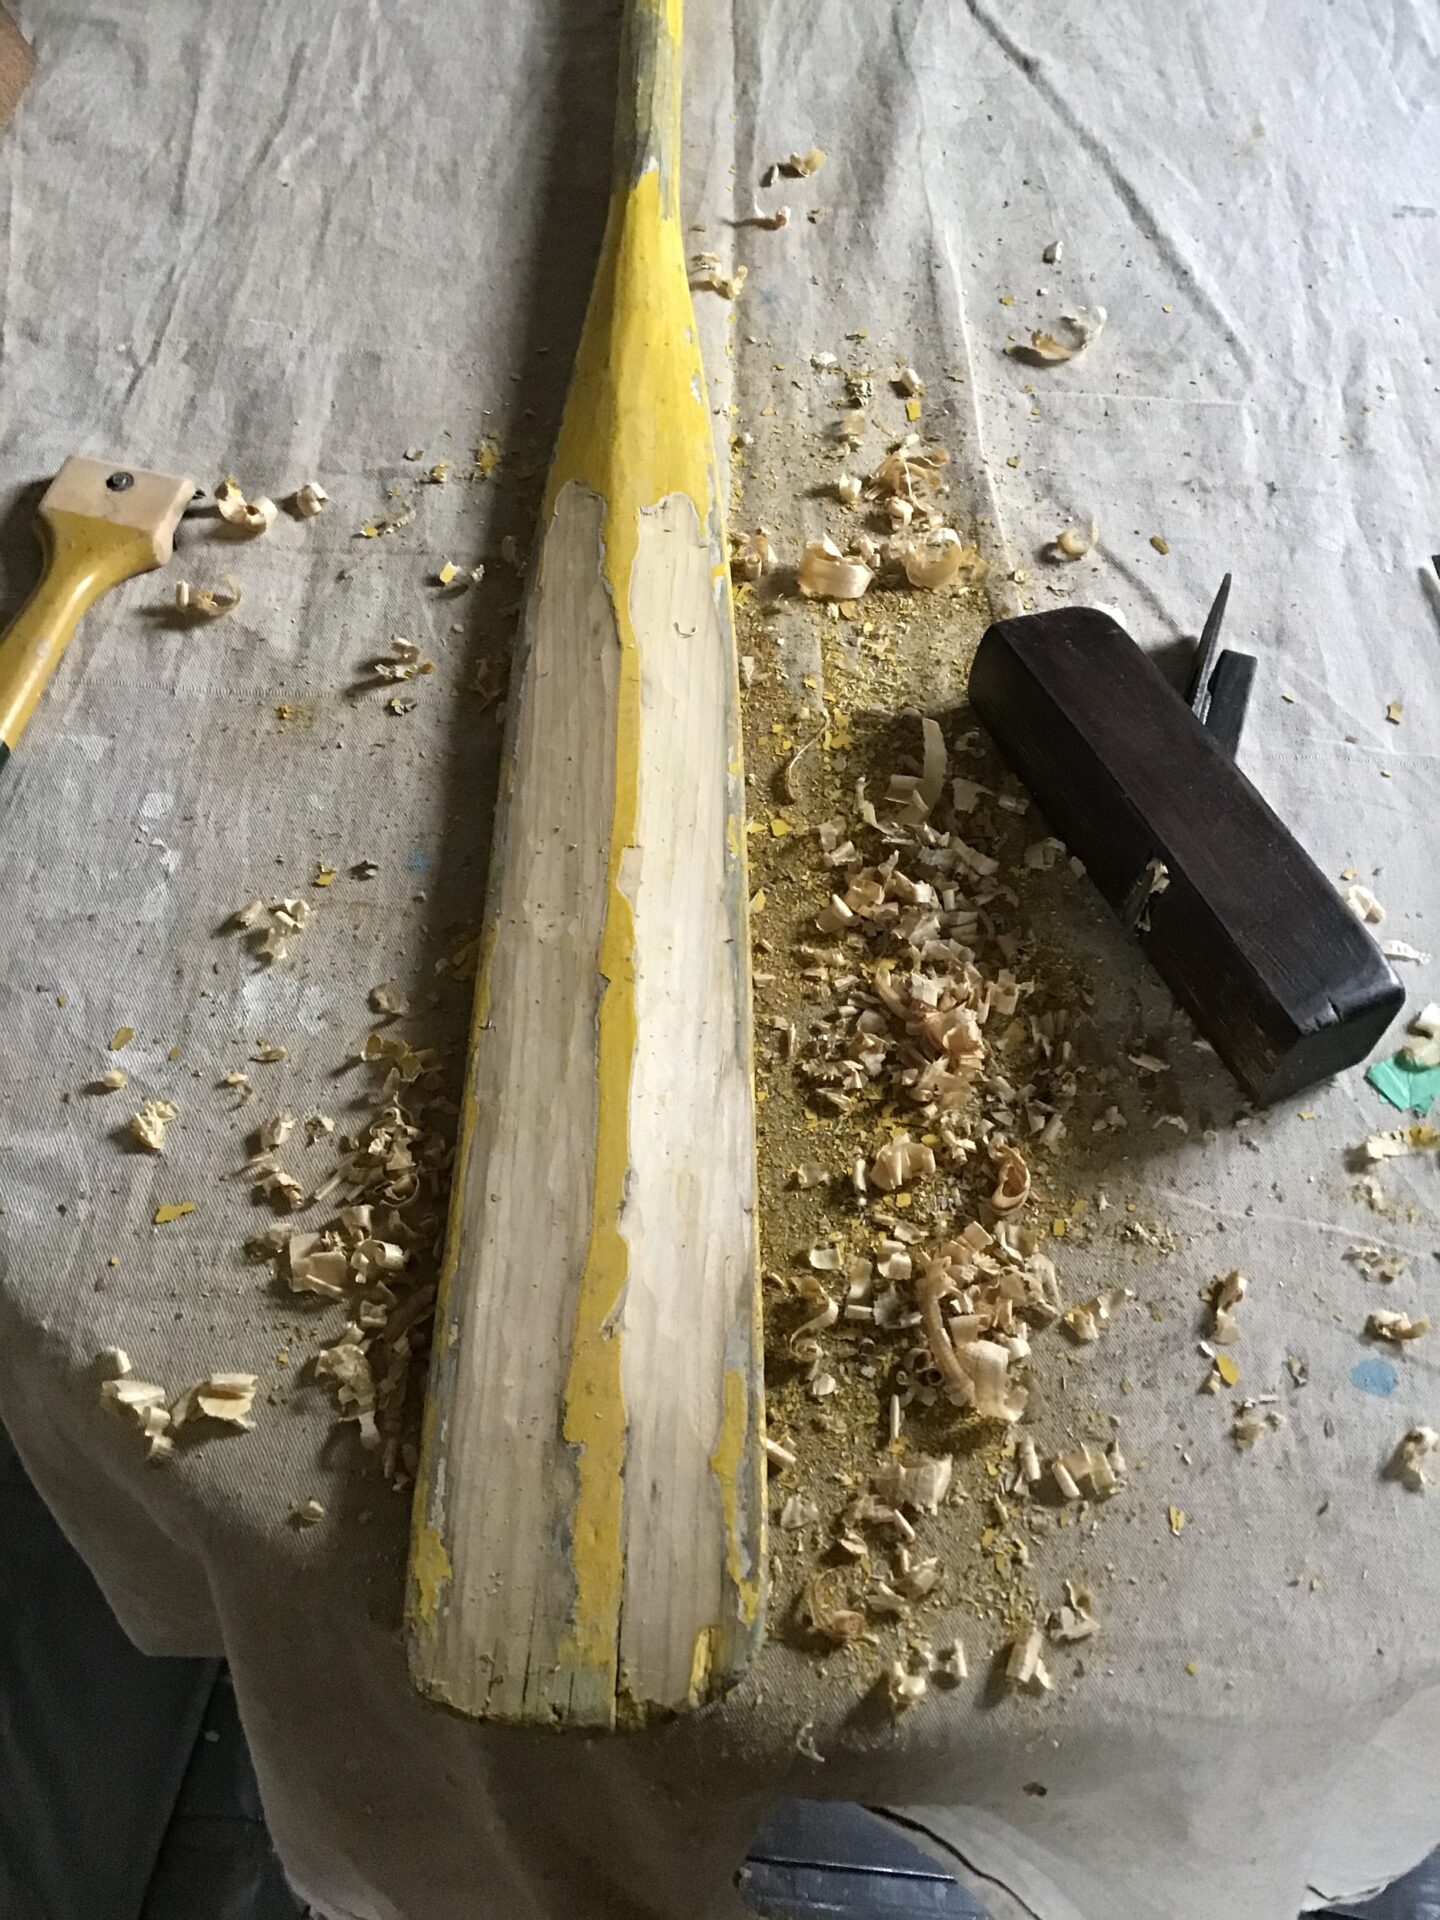
Most oars have an excessive amount of flesh on the bone. There should be a pronounced hollow in the blade on either side of the central ridge. To achieve this you will need to relieve the oar of a generous amount of wood in this area. The best tool is an older model wooden plane with a curved (convex) blade. These are quite often found in secondhand shops, at yard sales and the like. If you can’t find one, pick up a Stanley Surform at a good hardware store. This tool is halfway between a rasp and a plane and comes in various sizes and shapes with replaceable blades. Choose a double-handled surform with a curved blade.
With the oar secured firmly in place, hollow out the blade on both sides with either tool as shown.
Step Two
When you’ve achieved the hollow you want, you’ll need to sand the oar blade starting with heavy grit sand paper (80) and working down to a finer grit such as 320. (The areas carved out with the surform will take a lot more sanding than the wood plane due to the tool’s raspy finish.)
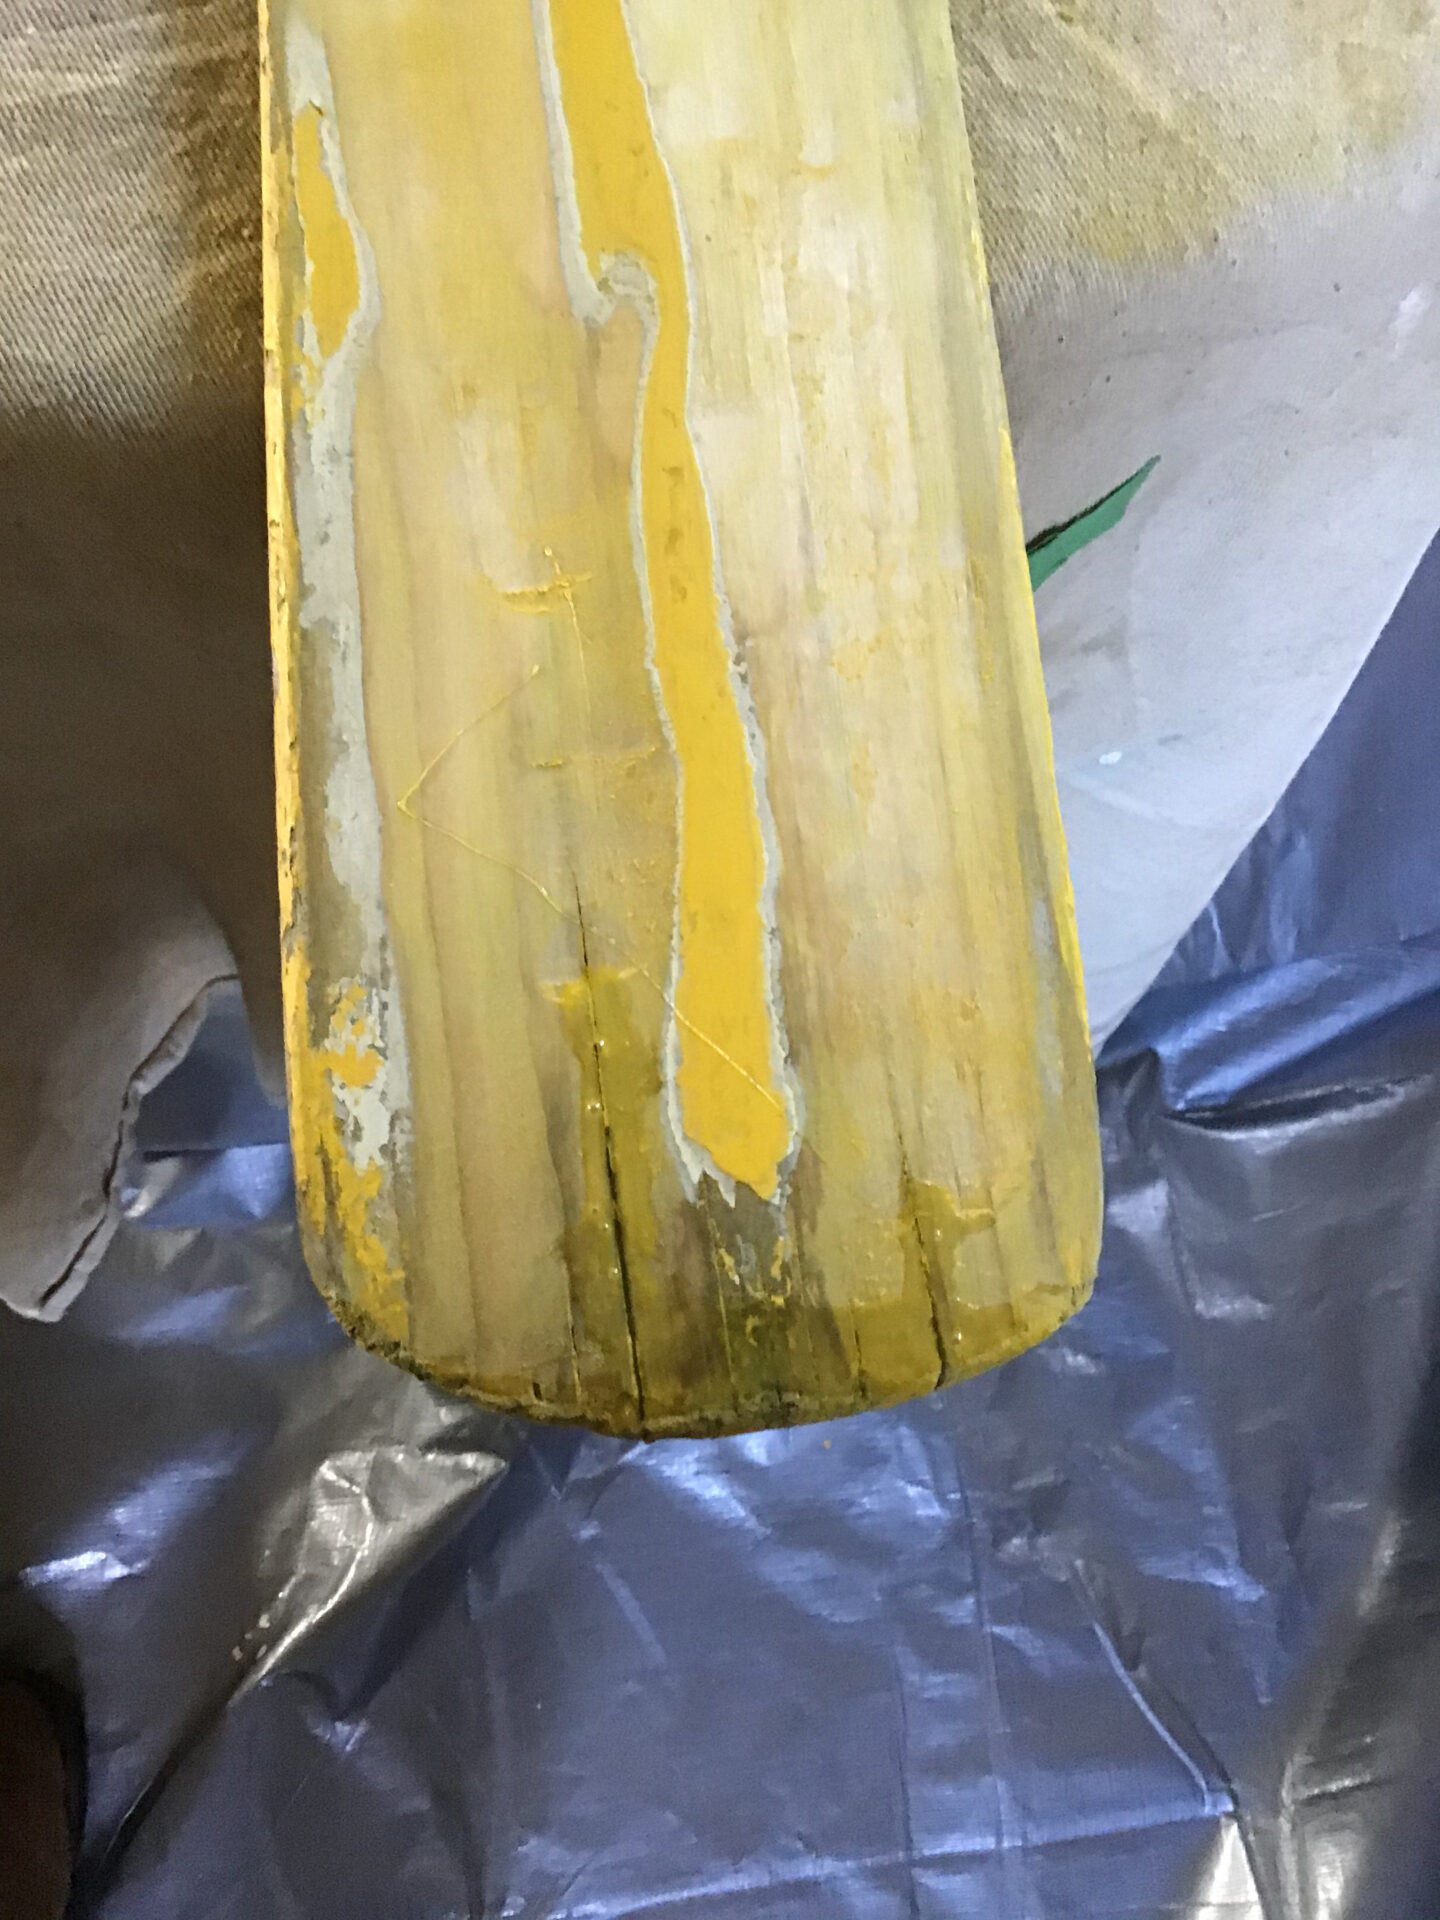
Step Three
Fill any checks (cracks) in old oars with epoxy. I use West System Epoxy available from most marine stores. Avoid the quick-setting epoxy or “miracle glues” available in supermarkets as they will not allow you the time you need, especially if there are a lot of cracks!
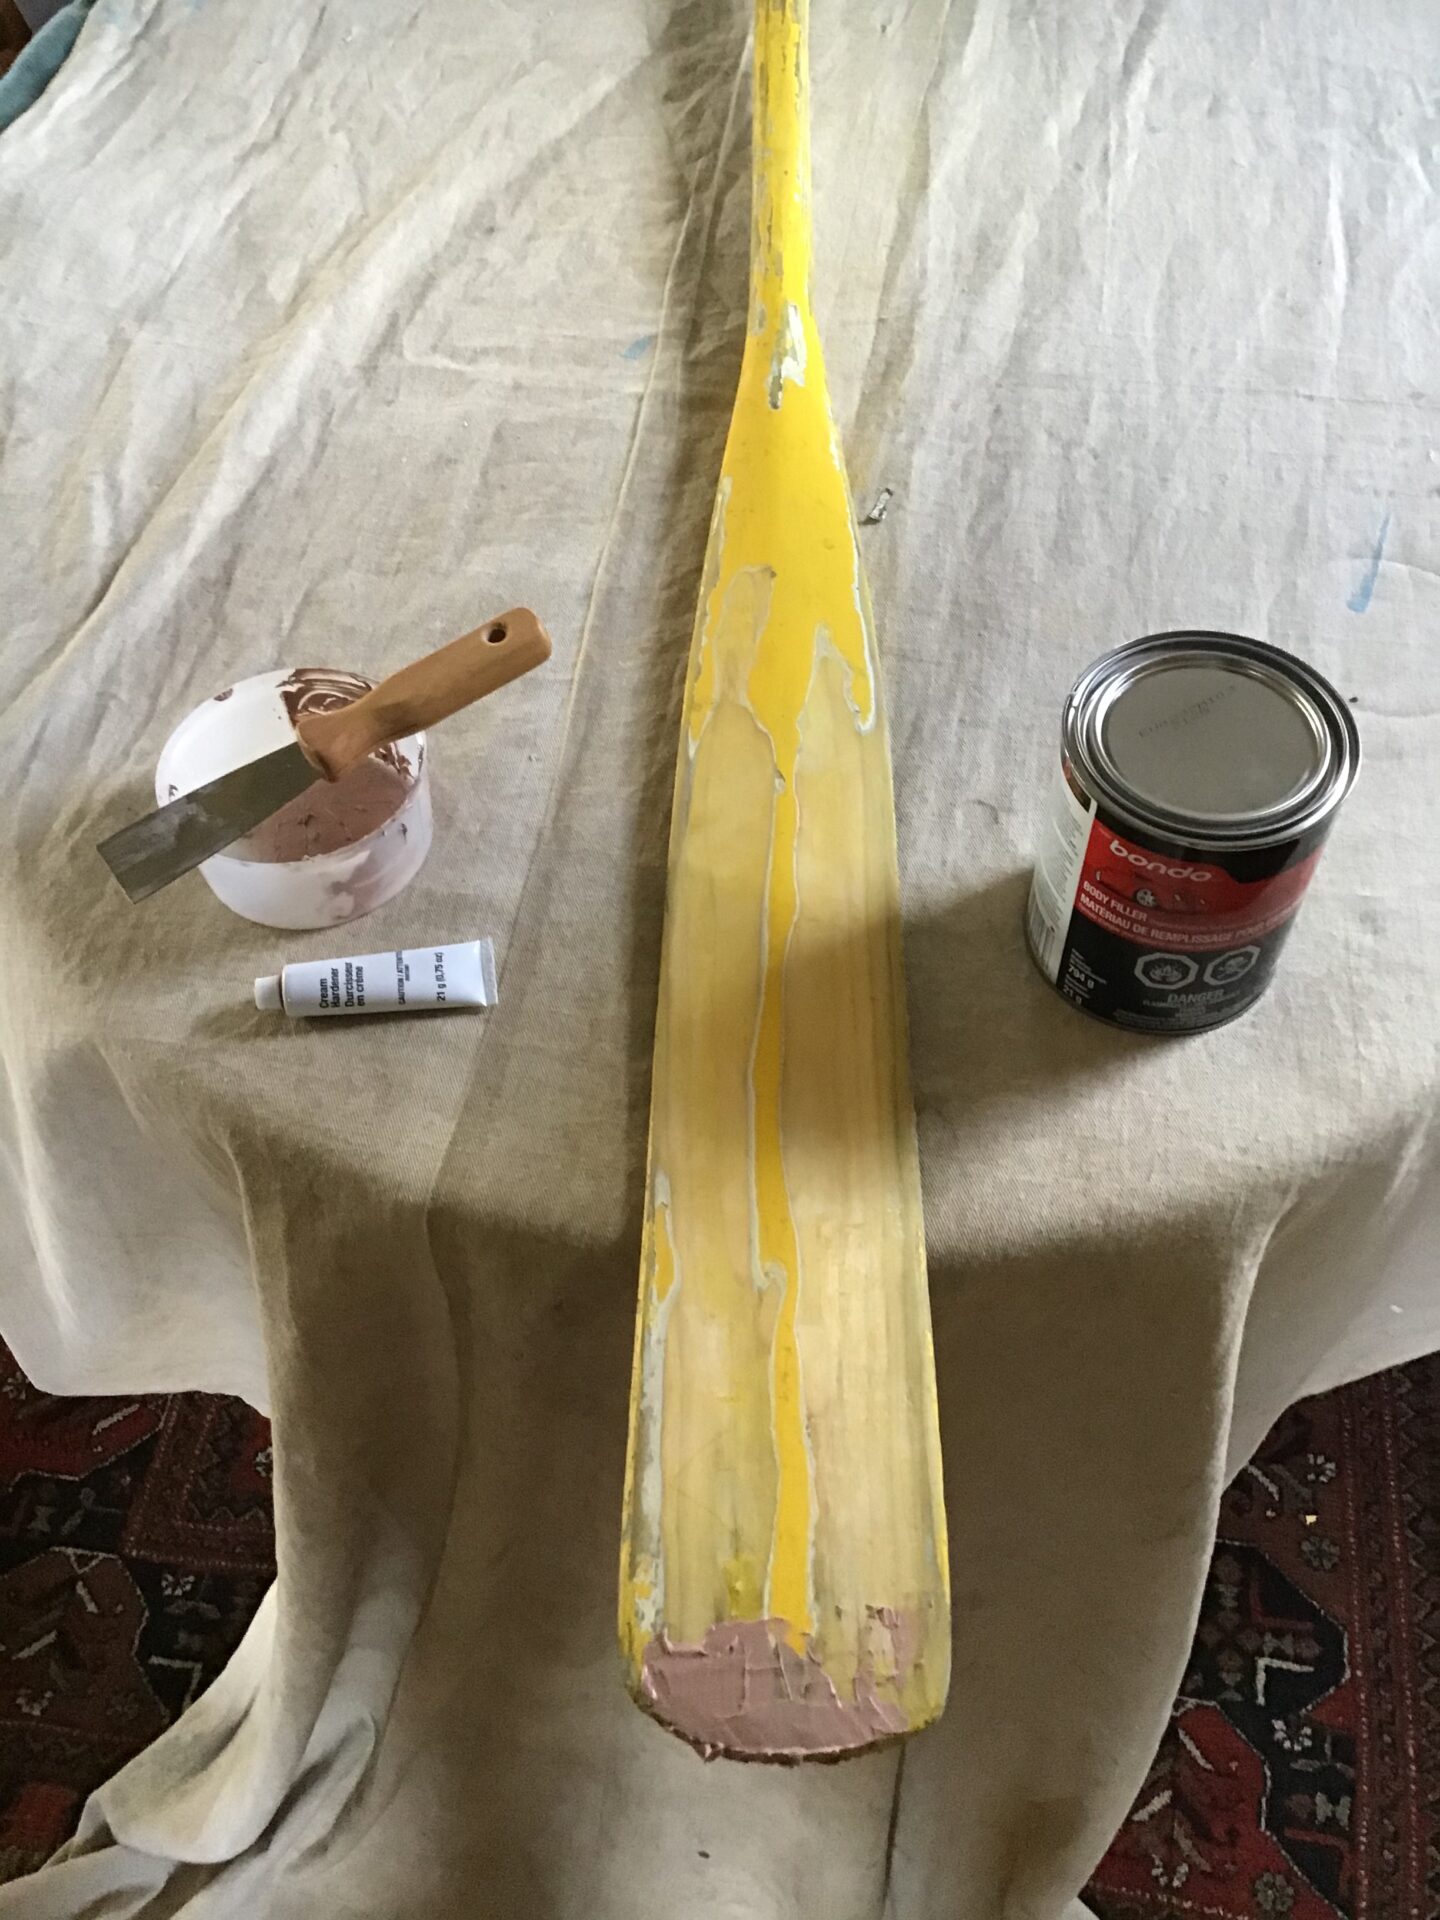
Step Four
Fill any nicks or gouges with a fairing compound. A marine-grade fairing compound is recommended, though a product such as Bondo (car body filler) works too. Then sand flush.
Step Five
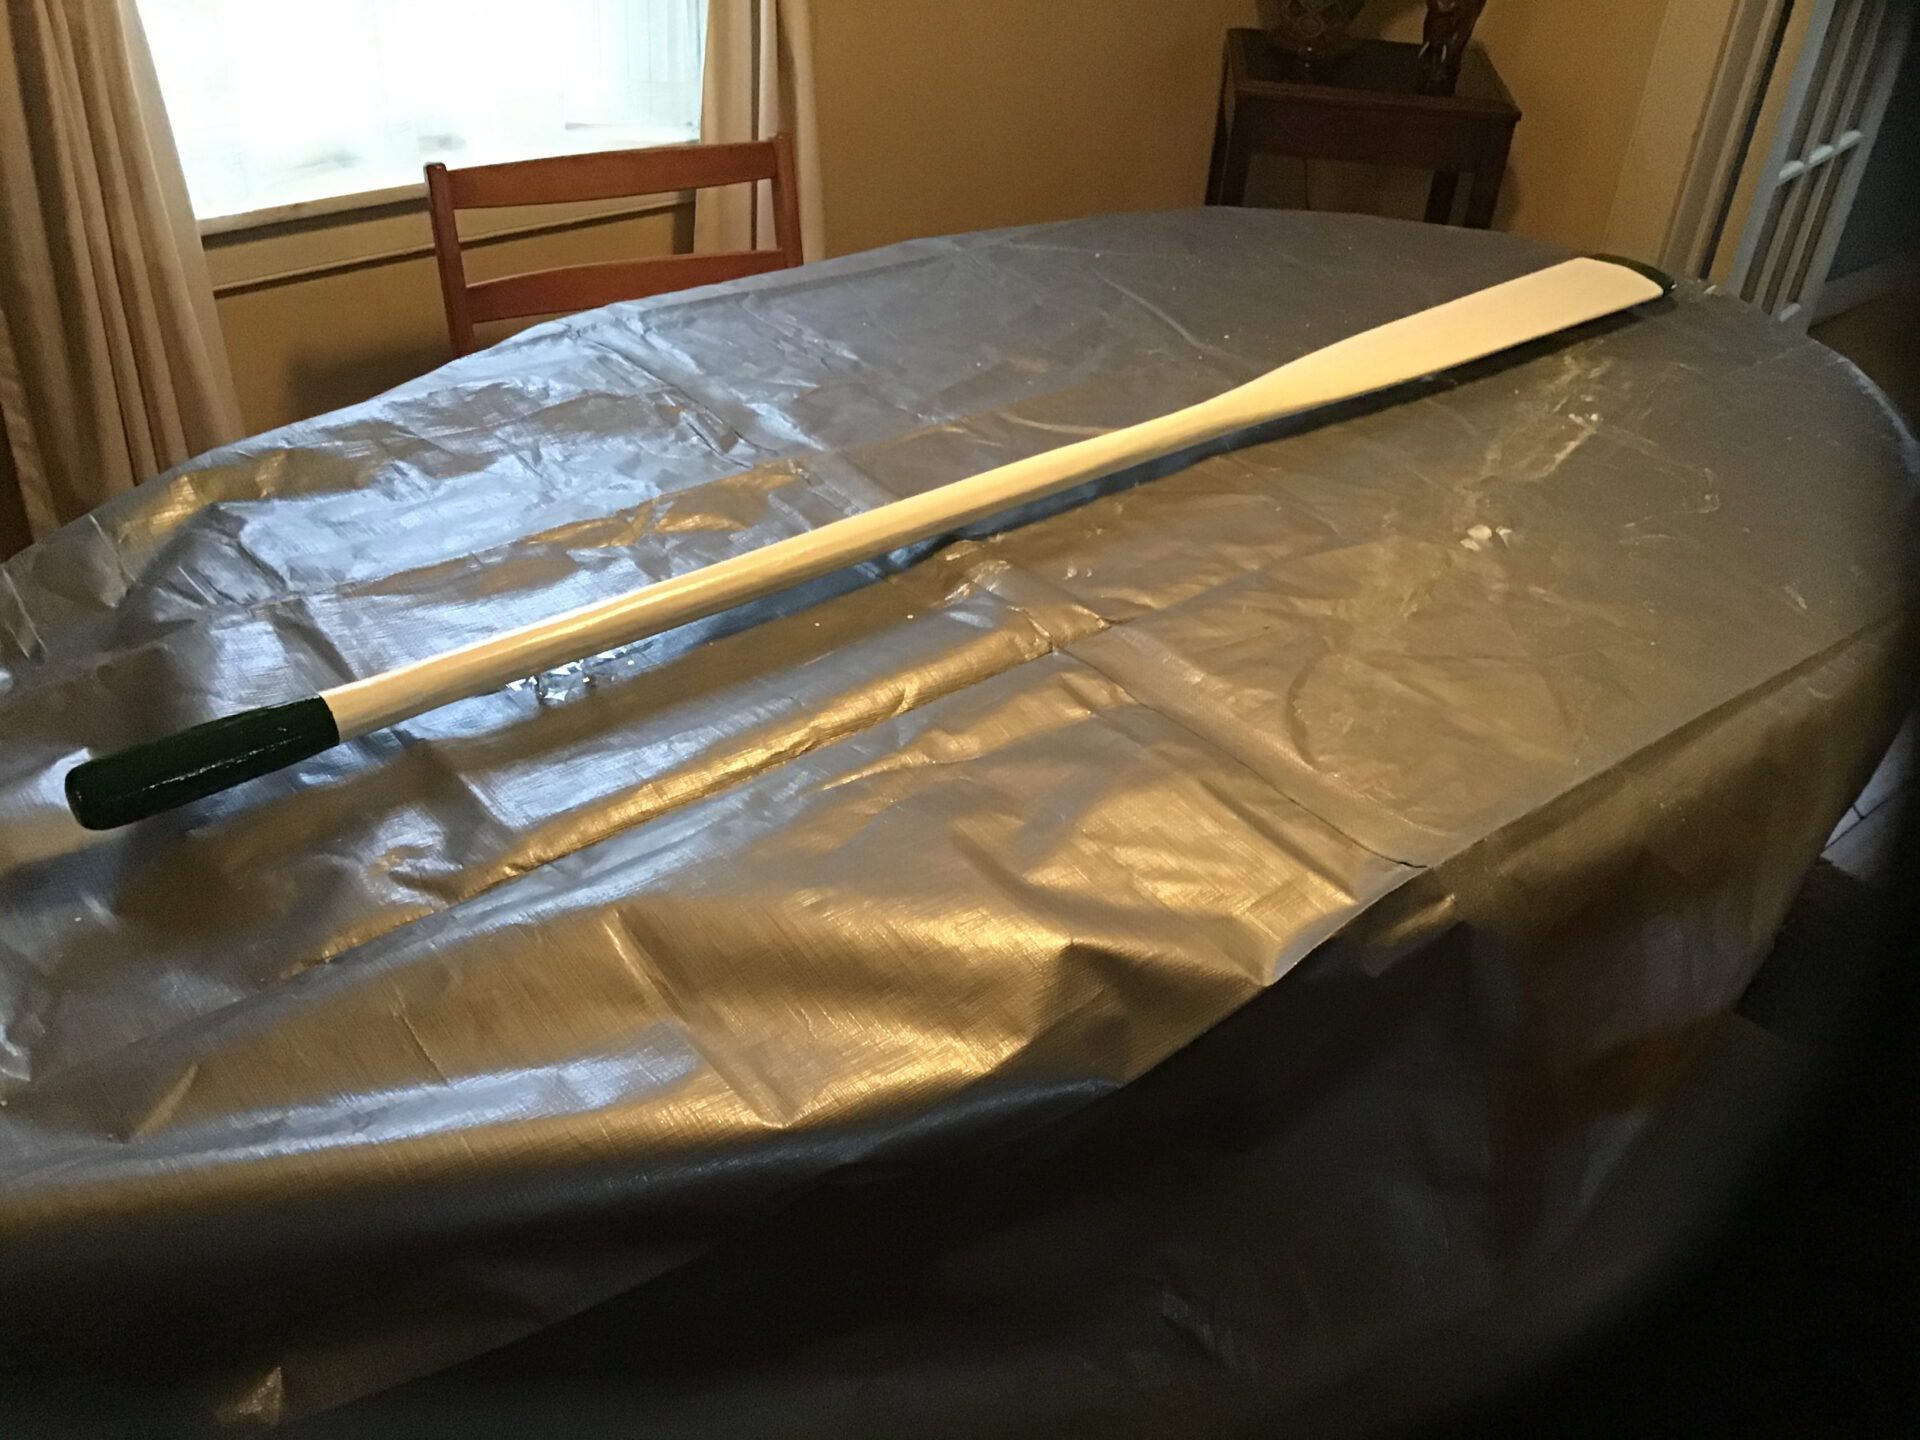
Paint and you’re done. I prefer oil-based paints but these are becoming increasingly difficult to find. A good house paint designed for porches and decks is not a bad alternative. (It is preferable to leave the grip, where your hand grasps the oar, unpainted. In this example the grip was painted as a rusty nail refused to be dislodged easily, which resulted in some unsightly craters.)
This project shouldn’t take much longer than two to three hours once you have the tools and materials. As the late, great naval architect Bill Garden said to me on observing our year-long restoration of the ketch Passat, “The difference between a shipwright and a ‘shipwrong’ is how long they take to get the job done!”
I’m still not sure in which category he thought I belonged.