
The environmental impact of bottom sanding and painting demands a careful approach to the task—and for good reason. Antifouling paints may contain elemental copper, cuprous oxide (a copper compound) or tinoxide compounds and some combine all three. They kill organisms attempting to attach to a painted surface. By design, most antifouling paints are toxic to marine life and can be absorbed by edible fish and shellfish. Toxins enter the environment through spillage, sanding, sand blasting or scraping. Residue on the ground or pavement can be transported into the water by stormwater runoff. And these toxicants can be passed up the food chain from mussels and worms to fish, birds and humans.
Under the Fisheries Act, releasing these wastes to fish-bearing waters is illegal. It states, “No person shall deposit or permit the deposit of a deleterious substance of any type in water frequented by fish or in any place under any conditions where the deleterious substance may enter any such water… and upon conviction in a court of law every person who contravenes this provision is guilty of a criminal offence. Maximum penalties are a fine up to $1 million or up to three years in prison, or both.” Yikes! Pretty serious stuff. Well worth the little bit of work that will keep you on the right side of the law and your conscience.
 Starting at the bow, tape the 6 mil plastic to the hull to begin creating the skirt.
 Staple the plastic to the wood stringers.
 A doorway can be sealed closed by overlap the plastic and use nails to hold it together.
The solution is simple. A tarp is put in place, under the cradle, before the boat is lowered into it. Then a sealed plastic skirt is taped onto the hull before sanding or grinding begins. This effectively contains all the toxic mess and allows for an easy and complete cleanup. Tarping will also prevent your grindings from blowing onto a neighbour’s boat—important for keeping the peace in an often-busy boatyard.
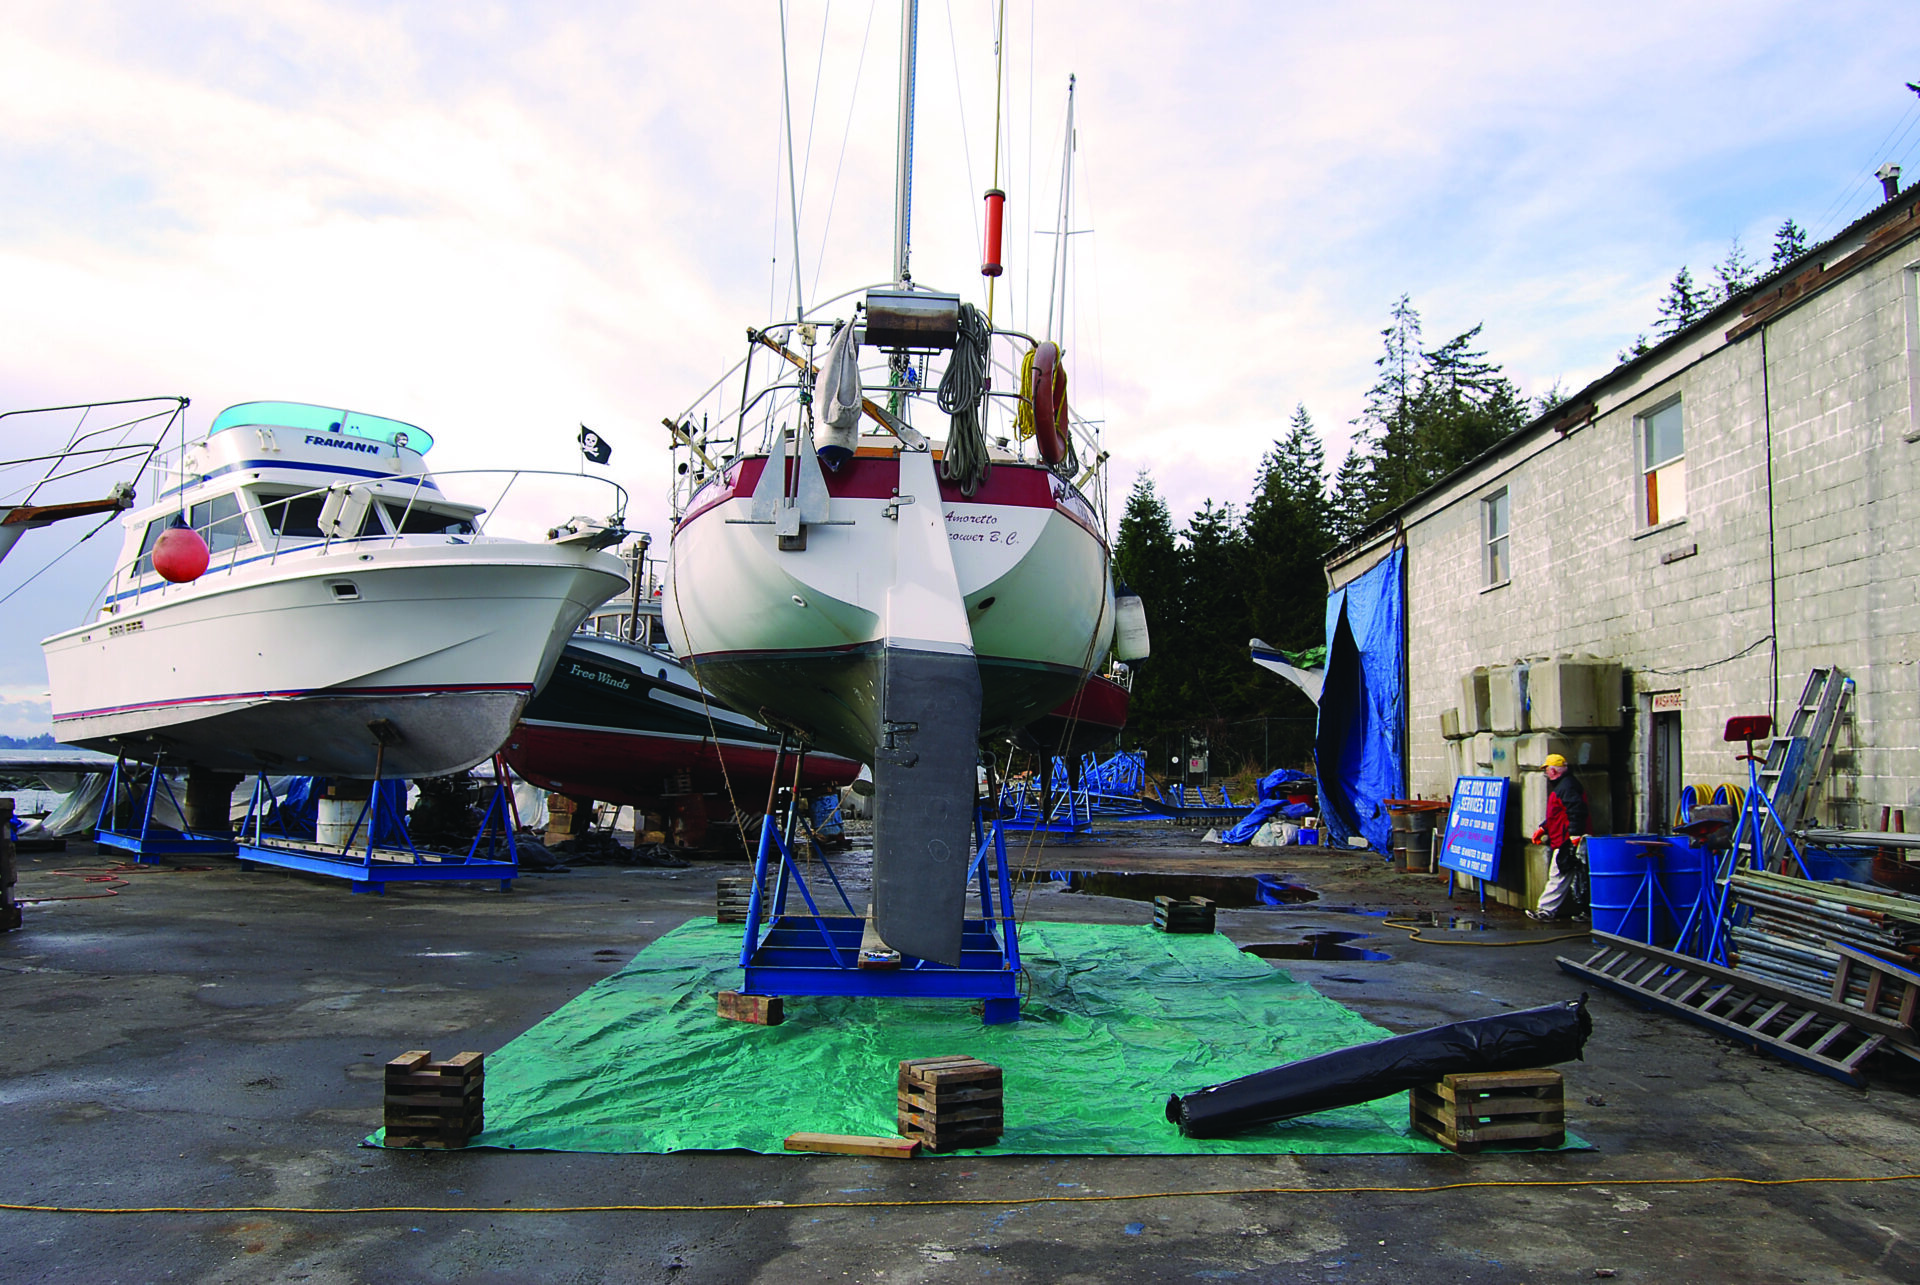
BEGIN BY PLACING, strong tarp on the ground where the cradle will be placed. Then, be sure to centre the cradle on the tarp before your boat is lowered into place. Use a big enough tarp to allow the skirt to remain within the confines of the ground tarp after you’ve made a tent of it.
You’ll need a sheet of six-mil plastic for the skirt and some tape to hold it to the hull. There are two schools of thought on which type of tape to use. Two-inch masking tape or duct tape.
 Use weights to hold down the edges of the skirt.
In duct tape’s favour is its strength. But, as anyone who’s used duct tape knows, it’s easy to apply, but difficult to get off. And once you do, there’s often glue residue left behind. As long as all the duct tape is removed within two to three days, glue residue shouldn’t be a huge problem, but if it is, you can easily clean it off with lacquer thinner.
Though masking tape is not as strong as duct tape, unless you leave it on the hull in the sun for three weeks, its easy to remove. If you’re expecting a monsoon, duct tape is the answer, but otherwise masking tape should do the trick.
Attaching the plastic skirt is definitely a two-person job, especially on a windy day.
Cut the plastic sheeting to size and begin taping at the bow of the boat. Be sure you’ve left the sheeting long enough; it should be able to reach the ground with enough slack to tent it out (so you’ll have enough room to work under the boat) and to allow you to weigh down the edges. Also be sure to have enough material so that you are able to overlap and seal the ends.
Once the plastic skirt is in position, place wood stringers—think of them as tent poles—inside the skirt that run from where you’ve taped the skirt onto the hull to the ground, leaving enough length to create a tent where you can easily work. Staple the plastic to the wood stringers from the outside. You’ll probably need to add a bit of additional support.
For a doorway you can overlap the plastic and use nails or pins to hold it together. By closing off the ends this way, you can easily open and re-close your tent.
Once everything is in place, use weights to hold down the edges of the skirt and get to work!
Don’t forget to wear protective clothing and a proper mask.
AT THE END of the exercise, when your boat has been lifted off the cradle, all you’ll need to do is carefully fold up the tarp and hand it off to whoever runs the boatyard for proper disposal. If you’re doing the work in your back yard, or in the driveway, take your mess to the recycling yard and they’ll (safely) deal with it.
TARPING TOOL BOX & TIPS
Ground Tarp
Be sure it’s large enough to allow you to “tent out” the plastic sheeting (to form the skirt) and that there’s enough extra width for weighting down the edges.
6-Mil Plastic Sheeting
Available in rolls.
Utility Knife
For cutting the plastic sheeting.
Nails
You’ll only need about a half dozen nails to pin the doorway at the bow.
Tape
Duct or masking tape for securing the tarps and sheeting.
A Proper Mask
You’re going to be sanding toxic bottom paint inside a sealed tent. Think about it—then go out and buy the best mask you can find. I recommend a respirator.
Protective Clothing
All around you is a swirling cloud of dust. You’ll need to do a lot better than an old T-shirt and ripped jeans. A full coverall is the only answer, and don’t forget a hat and safety glasses.
A Helper!
Preferably, a volunteer anxious to learn about boating. Promise a boat trip as soon as she’s back in the water. Beer and sandwiches always help. Popcorn and prizes. Anything!